31 CSS Pagination Examples

The Complete Web Developer in 2026
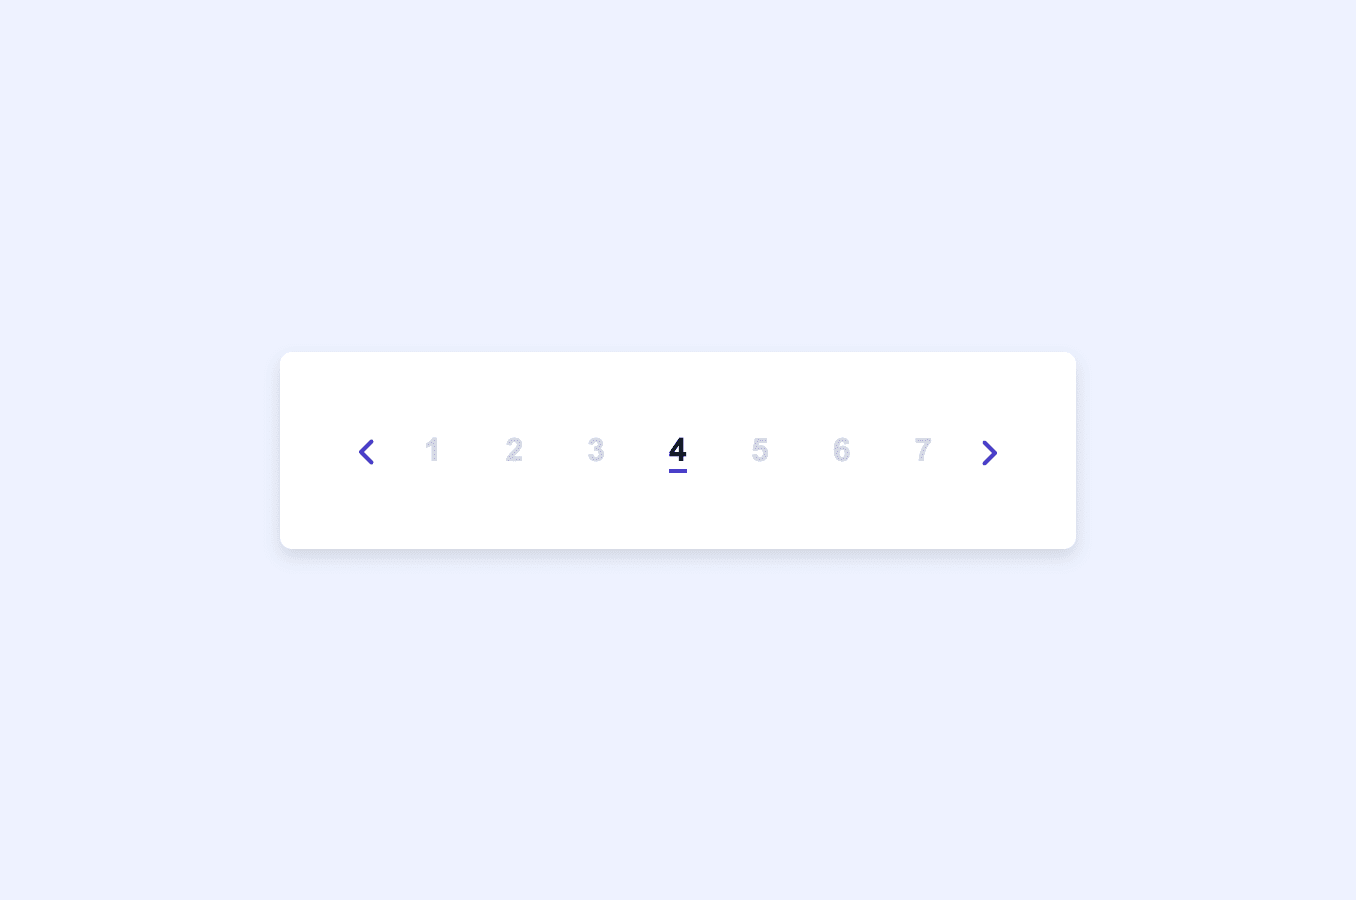
Animated pagination
Made with:
Dependencies:
Javascript pagination
Made with:
Dependencies:
Pacman pagination
Made with:
Dependencies:
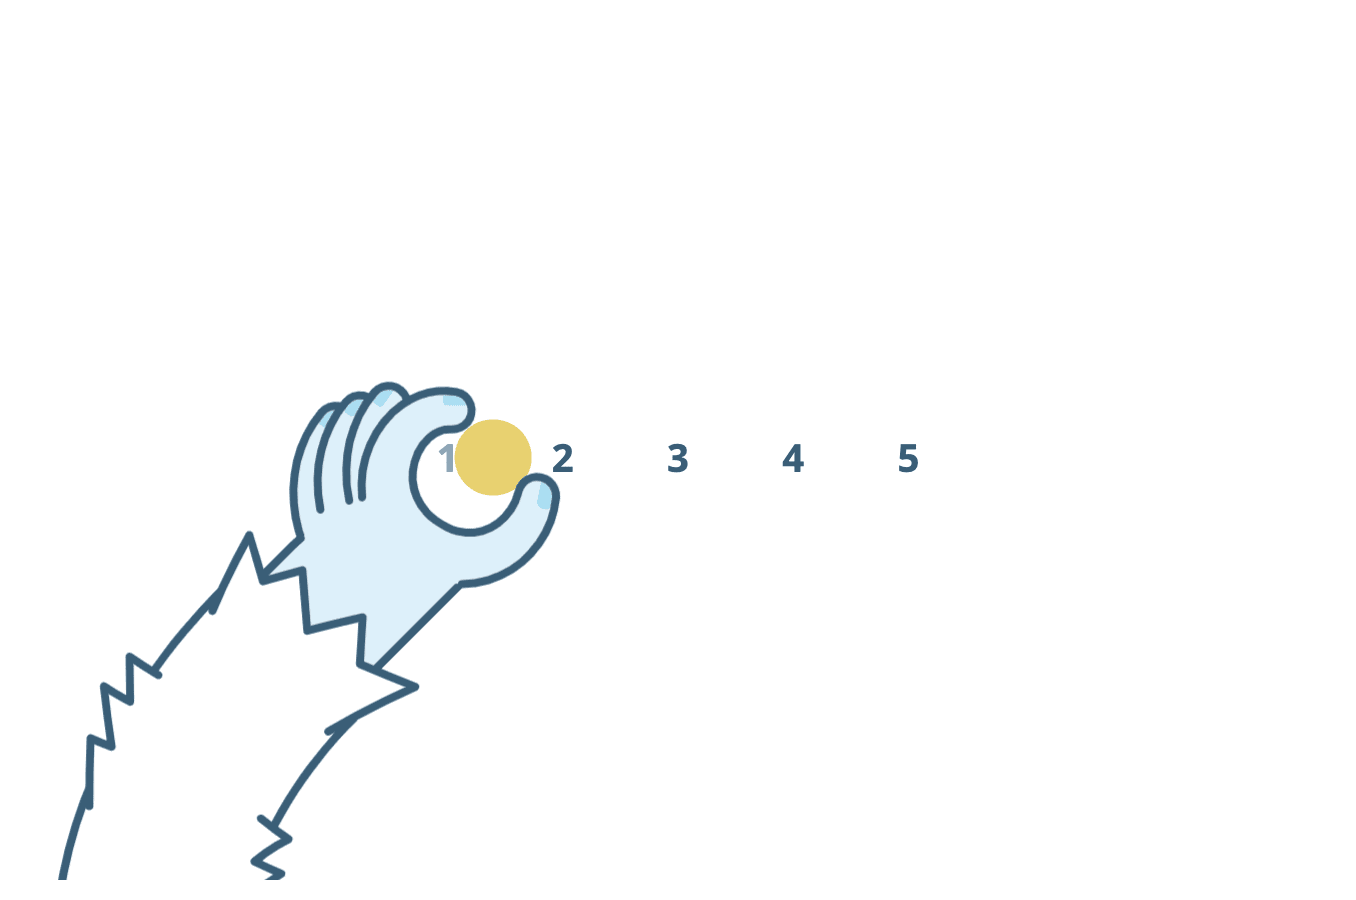
Yeti hand pagination
Made with:
Dependencies:

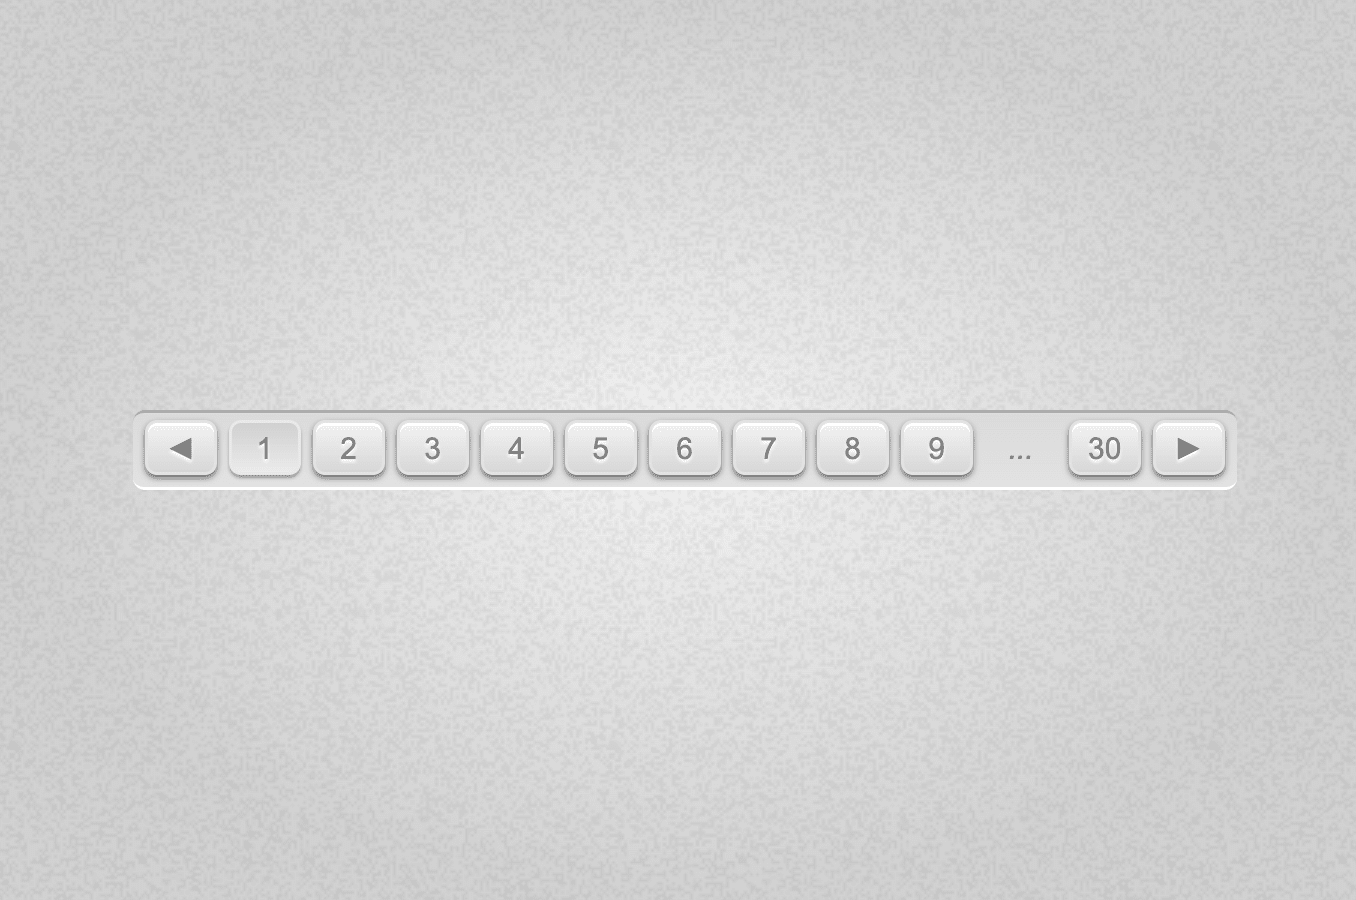
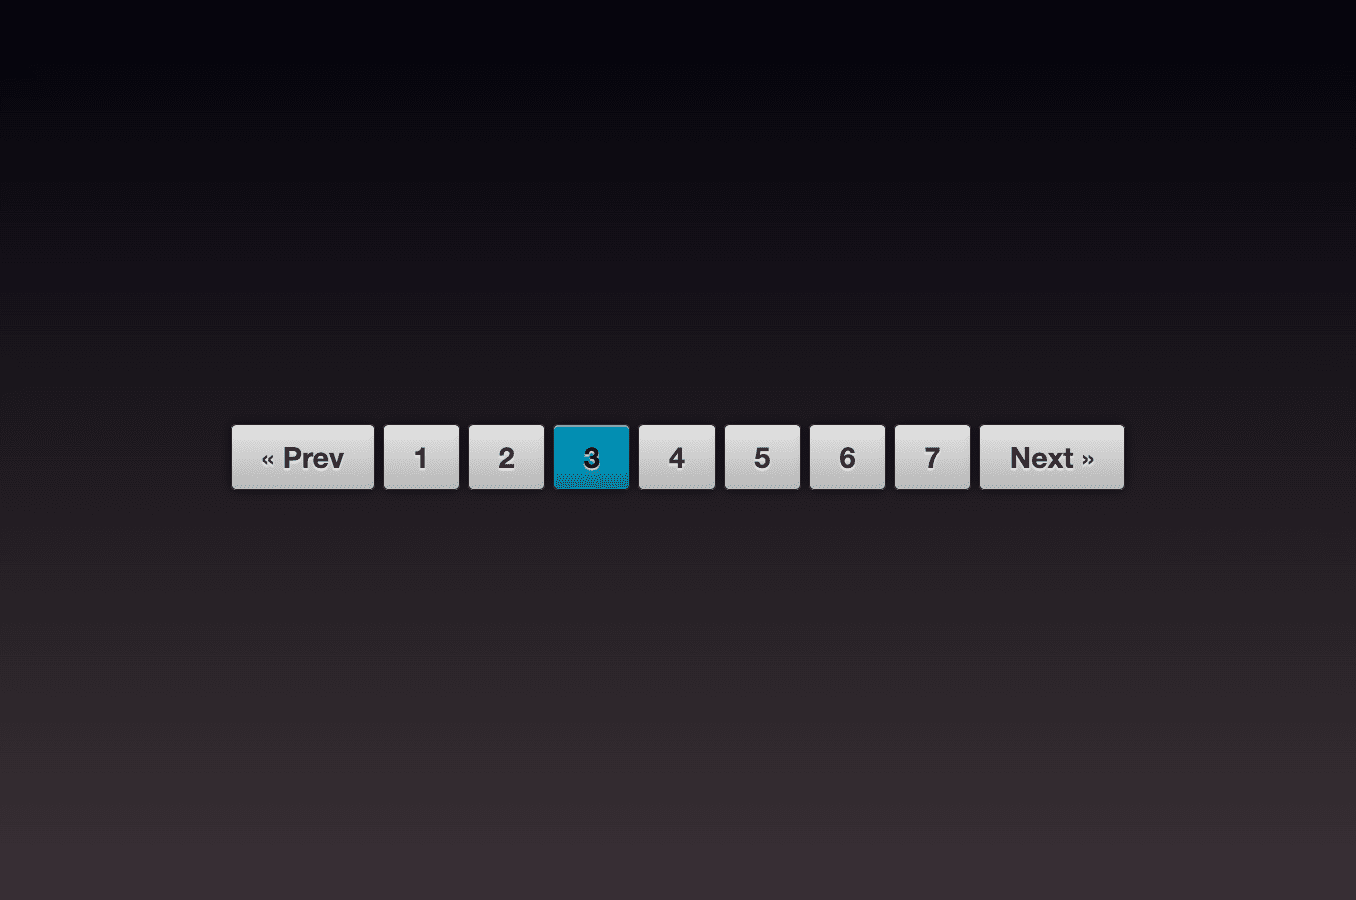
Pagination buttons
Made with:
Dependencies:
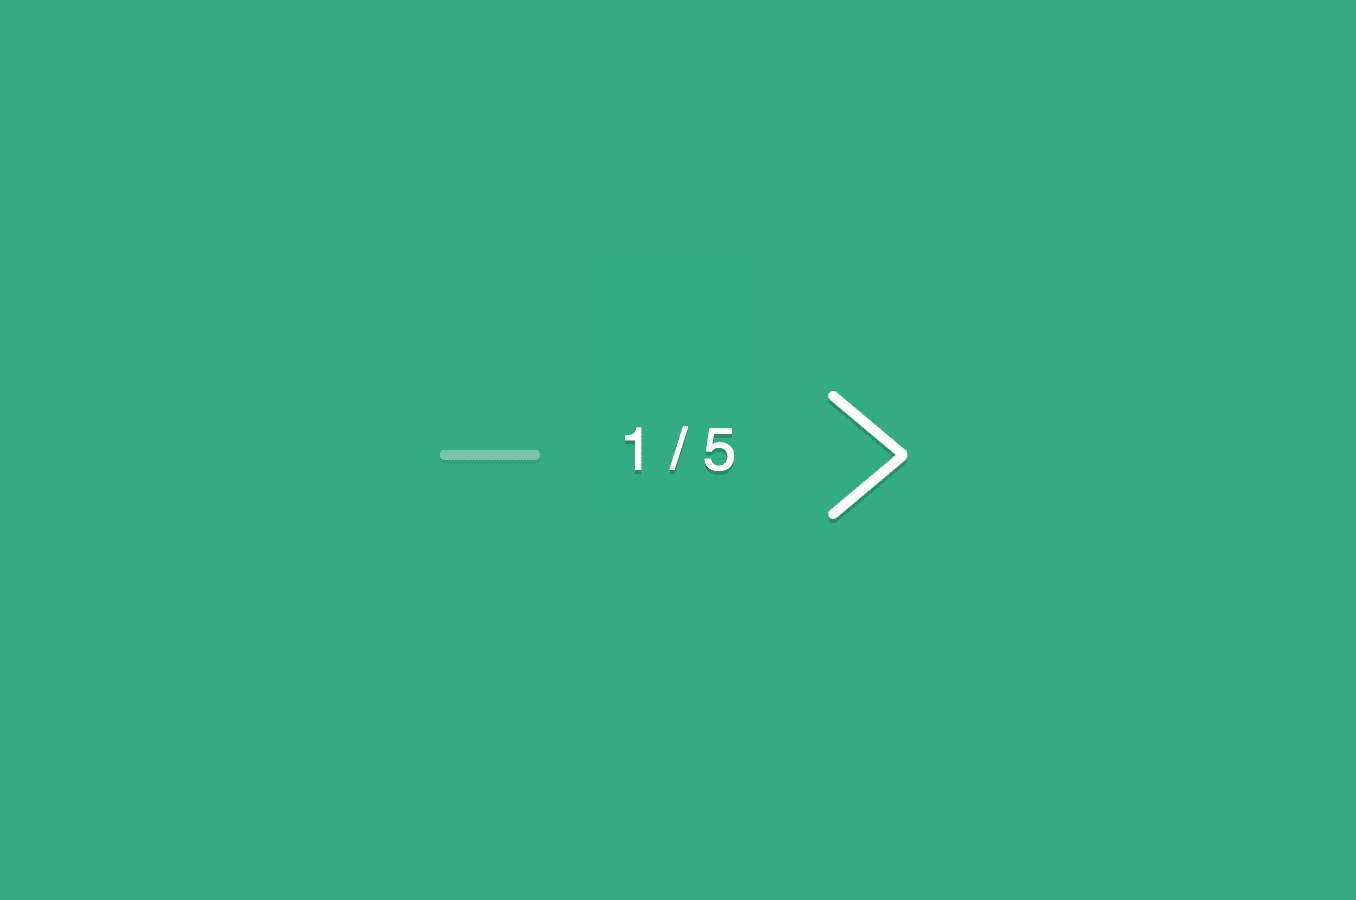
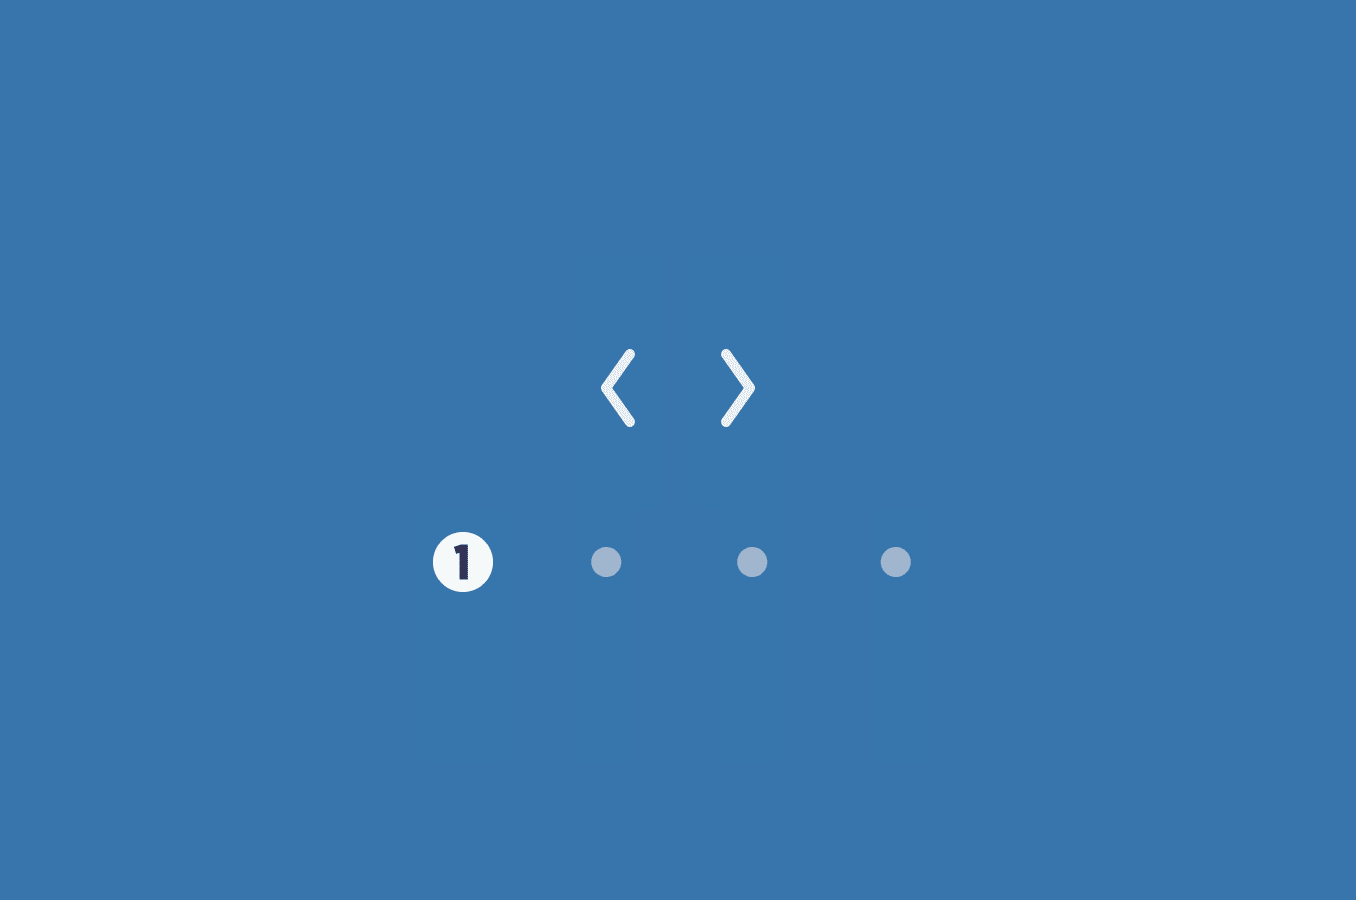
Flexing pagination arrows
Made with:
Dependencies:
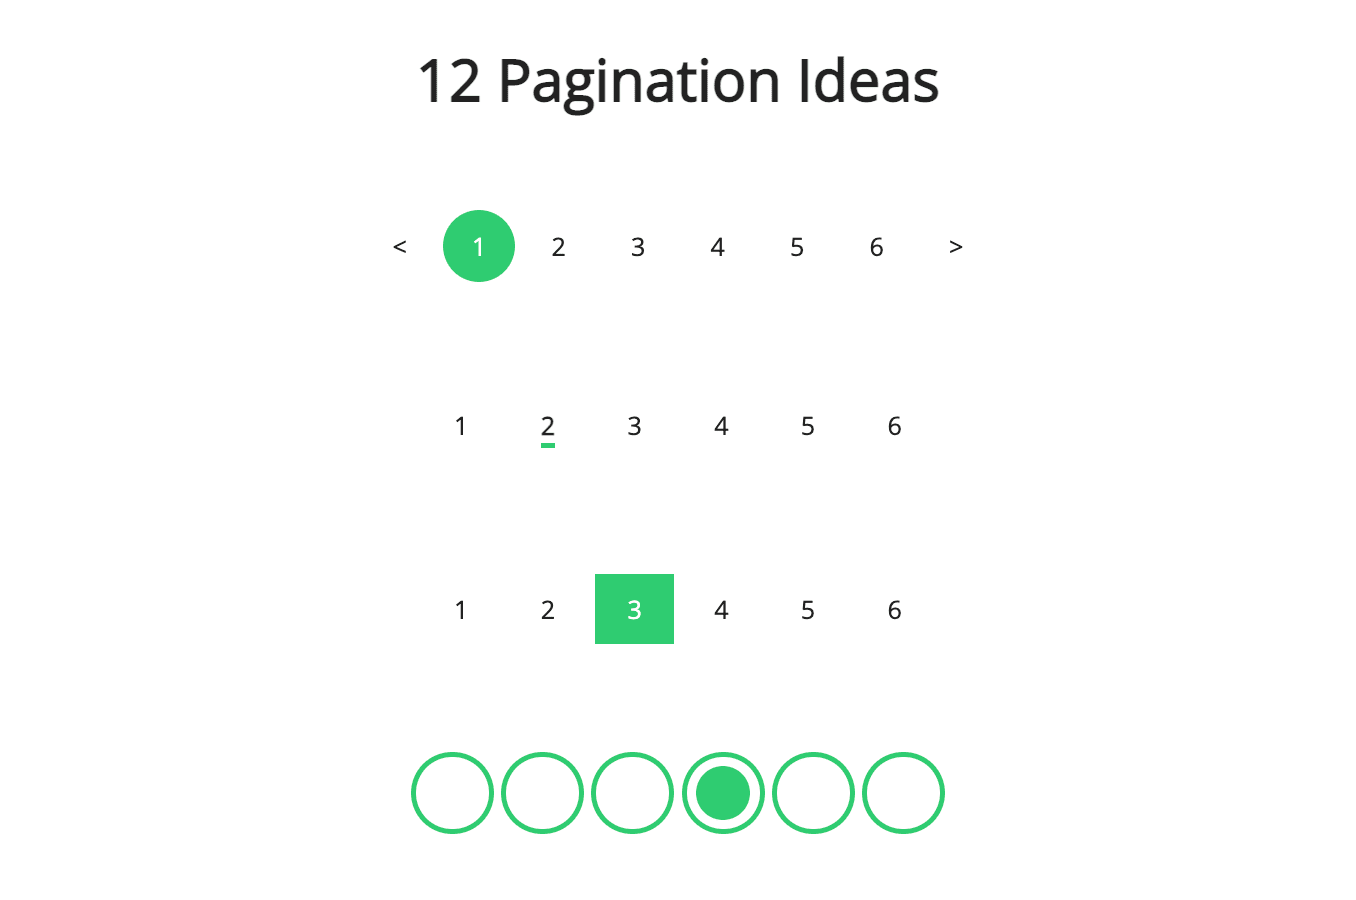
12 pagination ideas
Made with:
Dependencies:
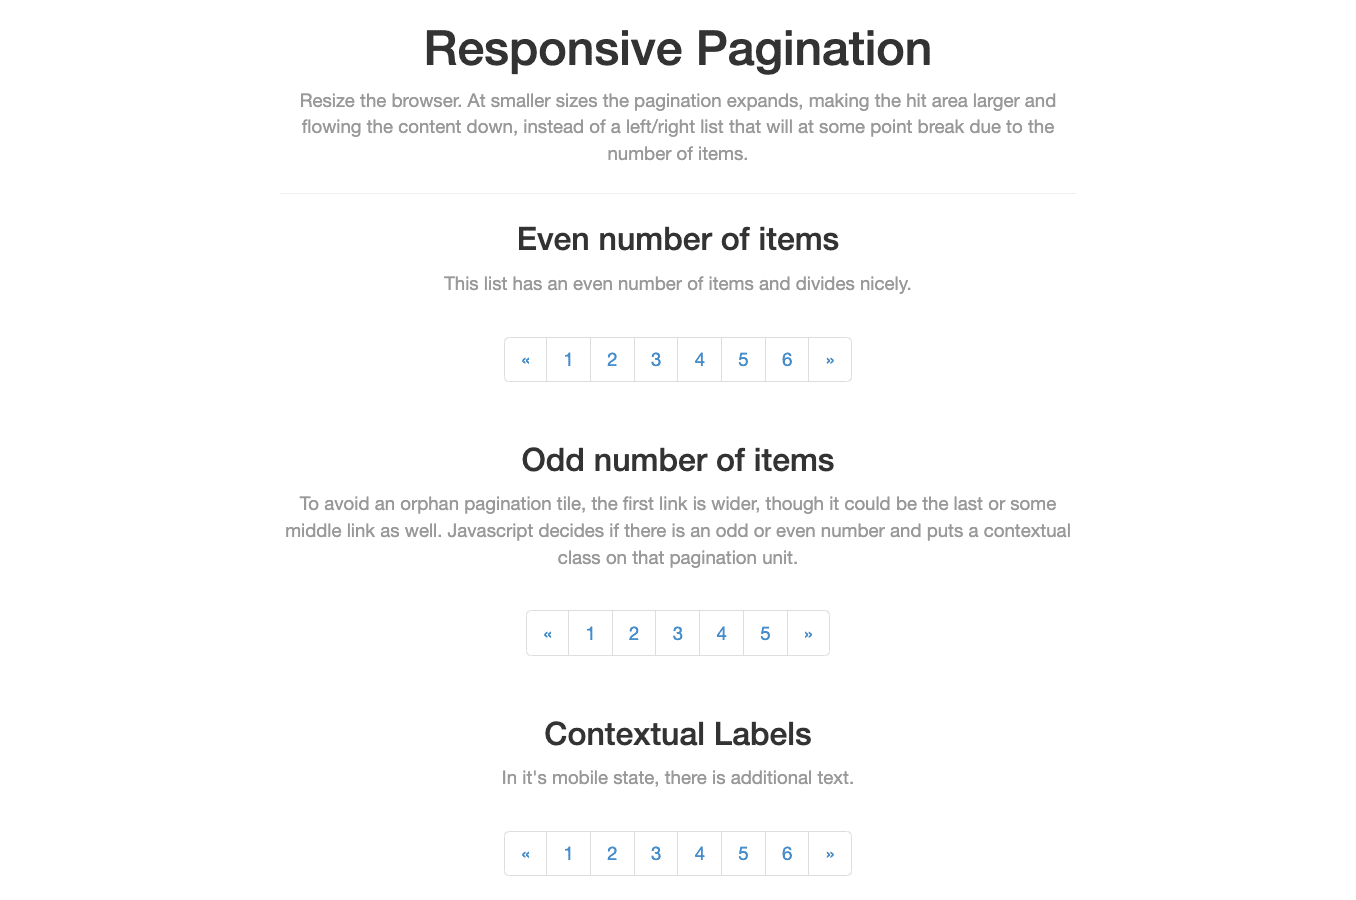
Pure CSS3 responsive pagination
Made with:
Dependencies:

Infinite pagination
Made with:
Dependencies:

SVG page hopper
Made with:
Dependencies:

Spring pagination
Made with:
Dependencies:
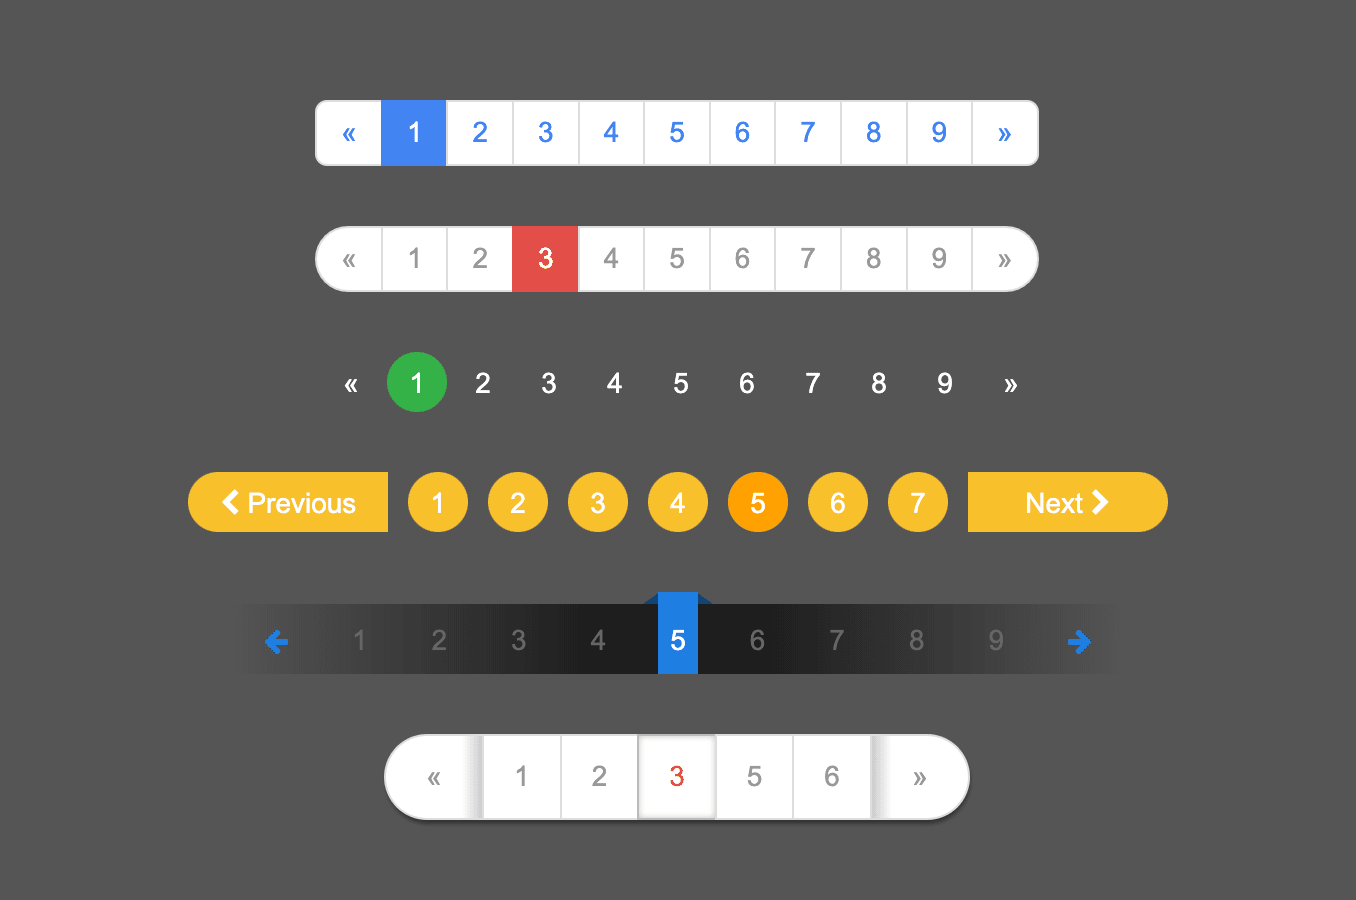
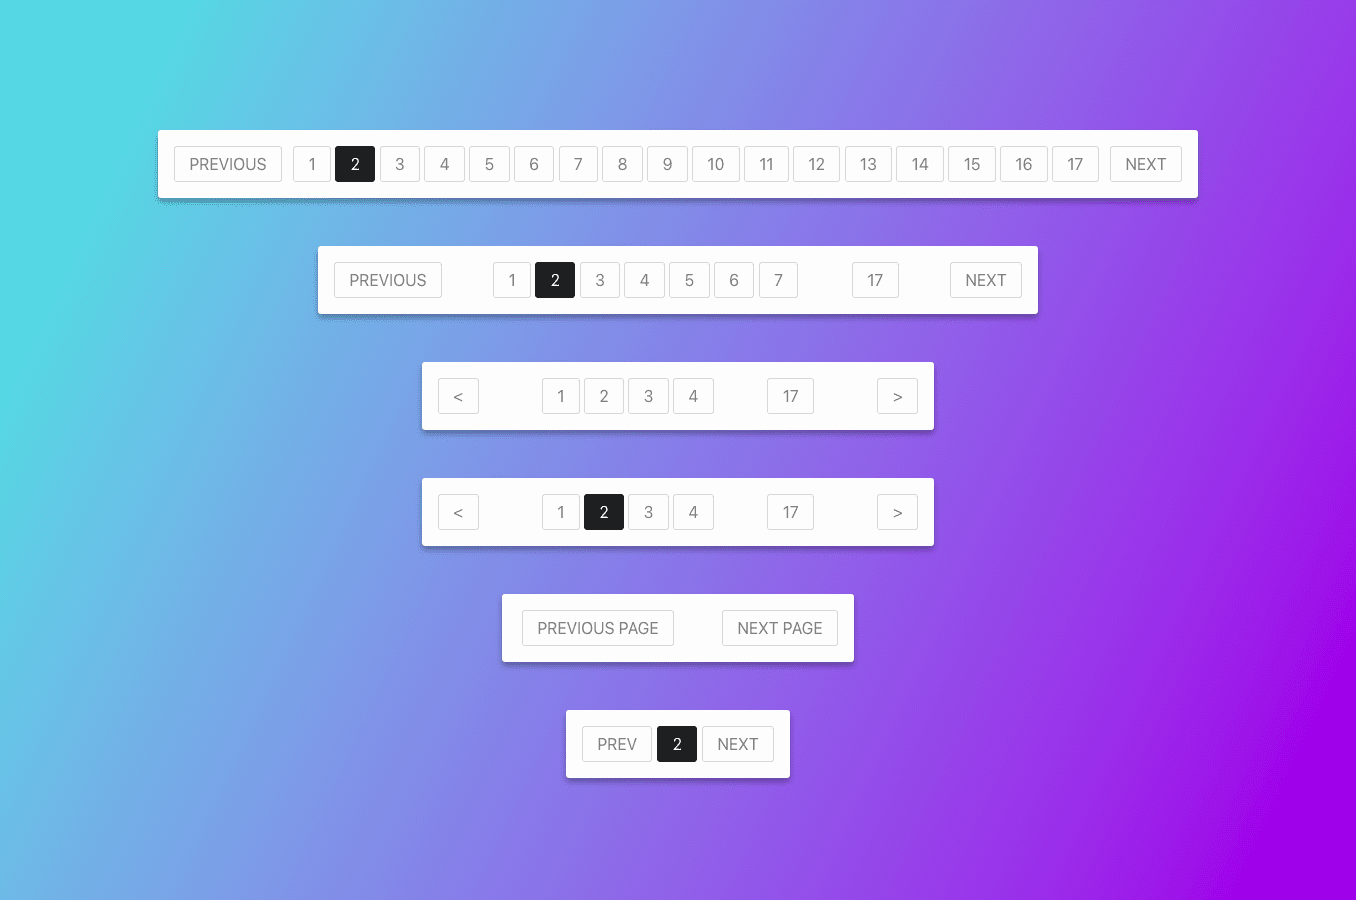
6 Pagination examples
Made with:
Dependencies:
Pagination with morphing numbers
Made with:
Dependencies:
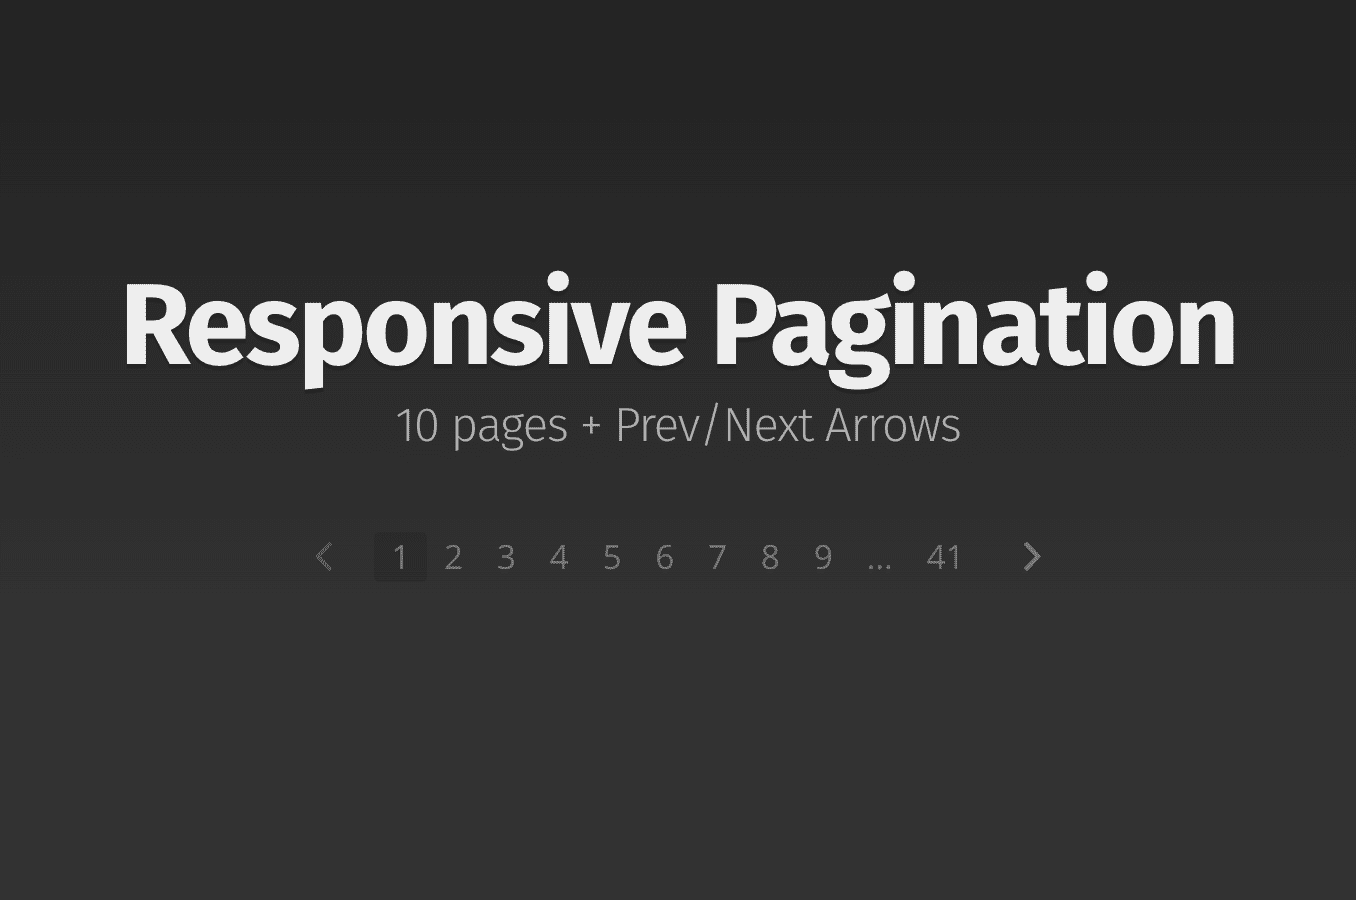
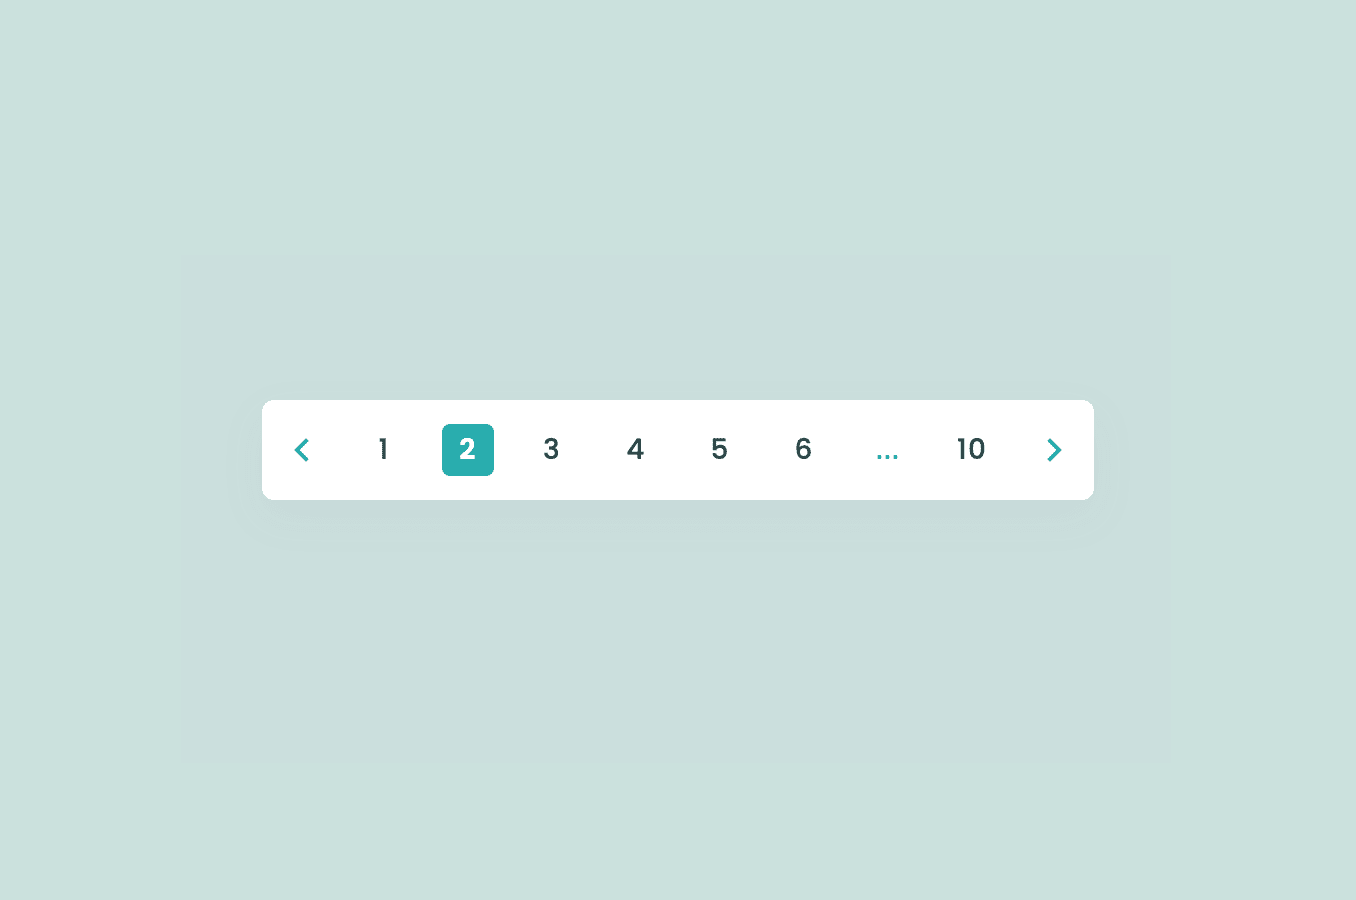
Responsive pagination
Made with:
Dependencies:
Responsive pagination without JavaScript
Made with:
Dependencies:
Clean pagination
Made with:
Dependencies:
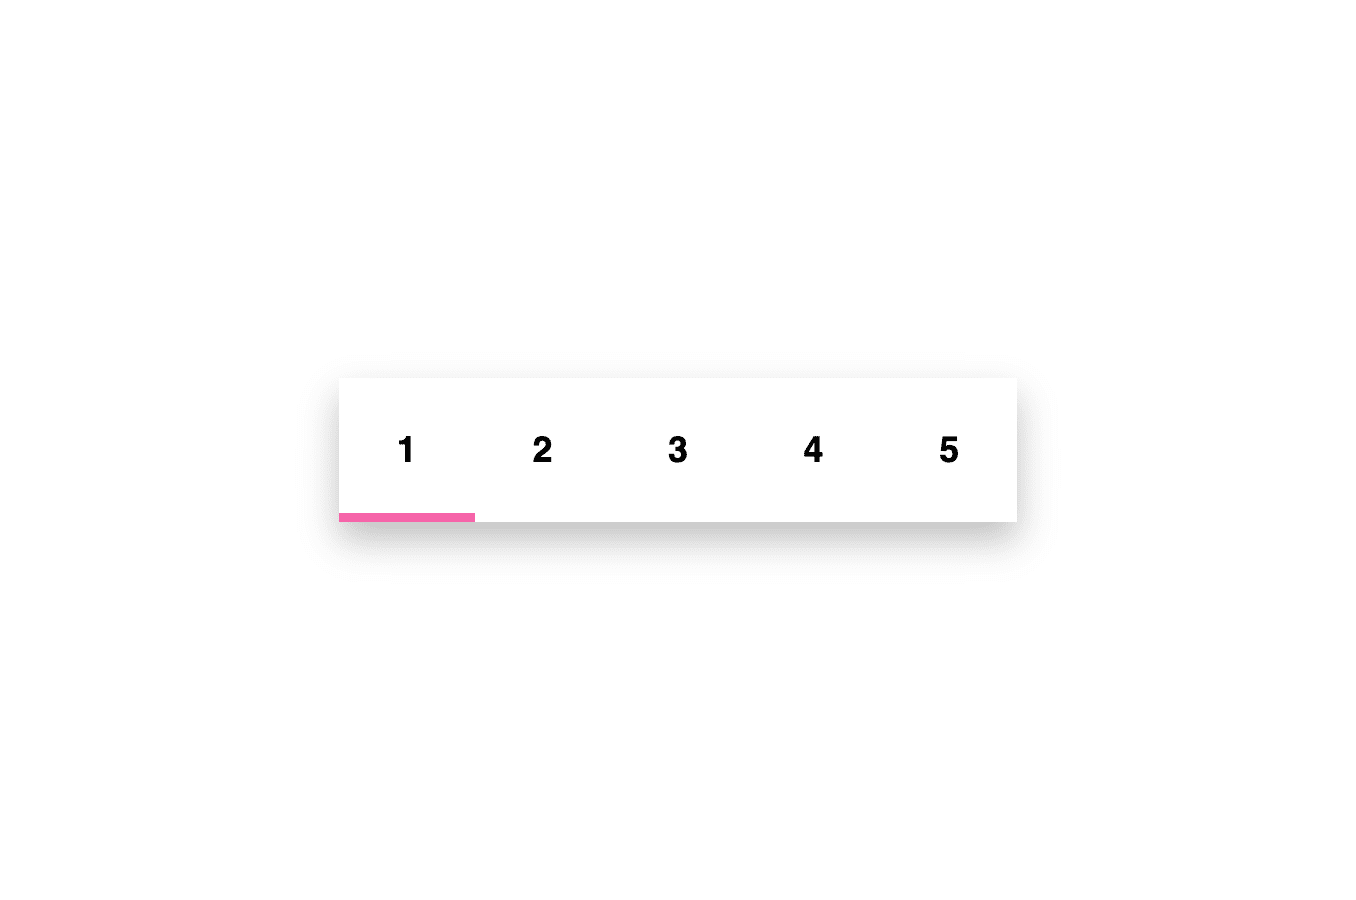
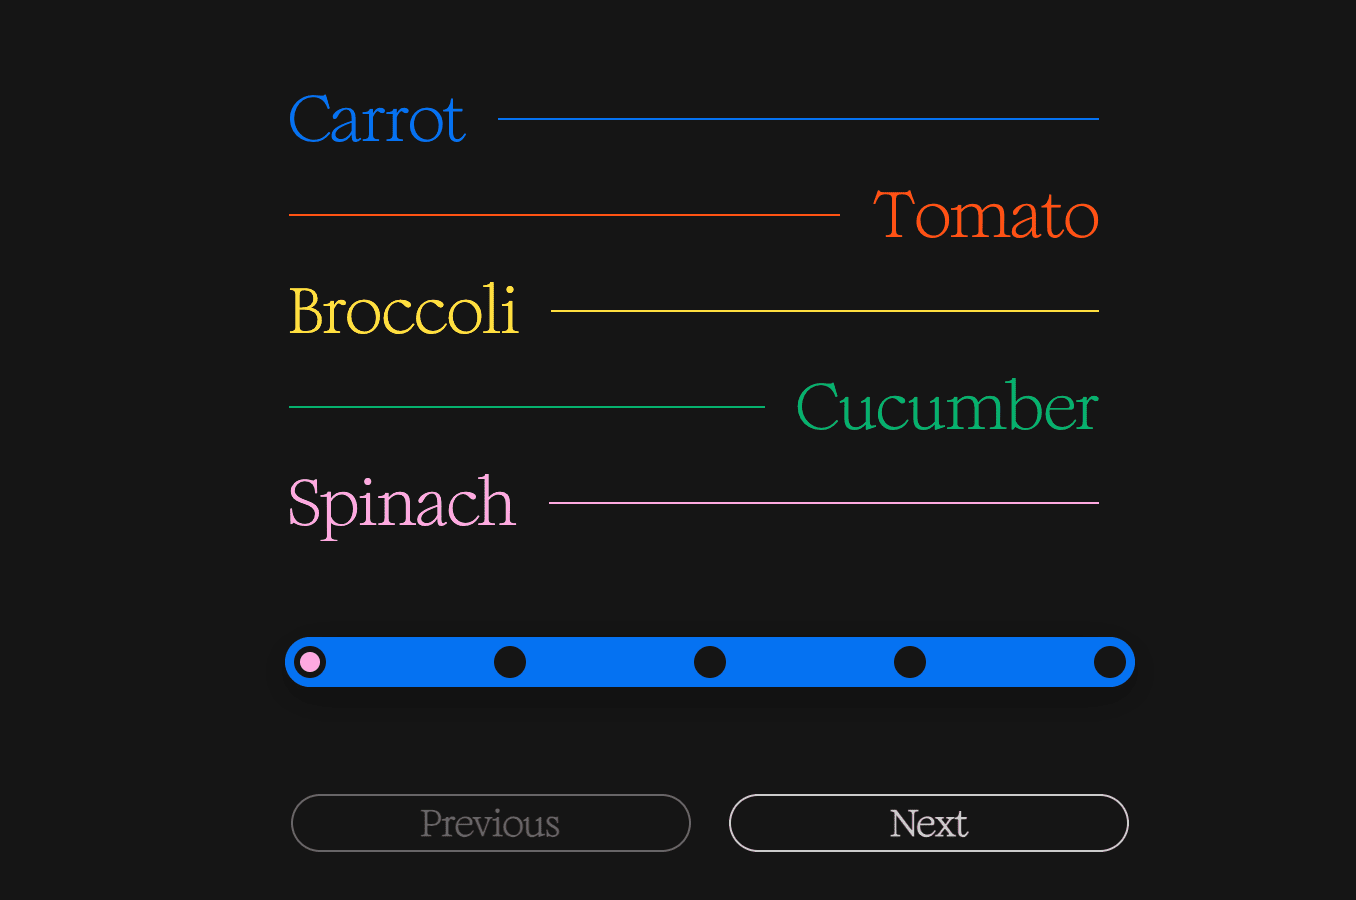
Line pagination with hover (PureCSS)
Made with:
Dependencies:
Pure CSS pagination
Made with:
Dependencies:
Beautiful CSS pagination
Made with:
Dependencies:
Responsive navigation/pagination
Made with:
Dependencies:
Jumping pagination
Made with:
Dependencies:

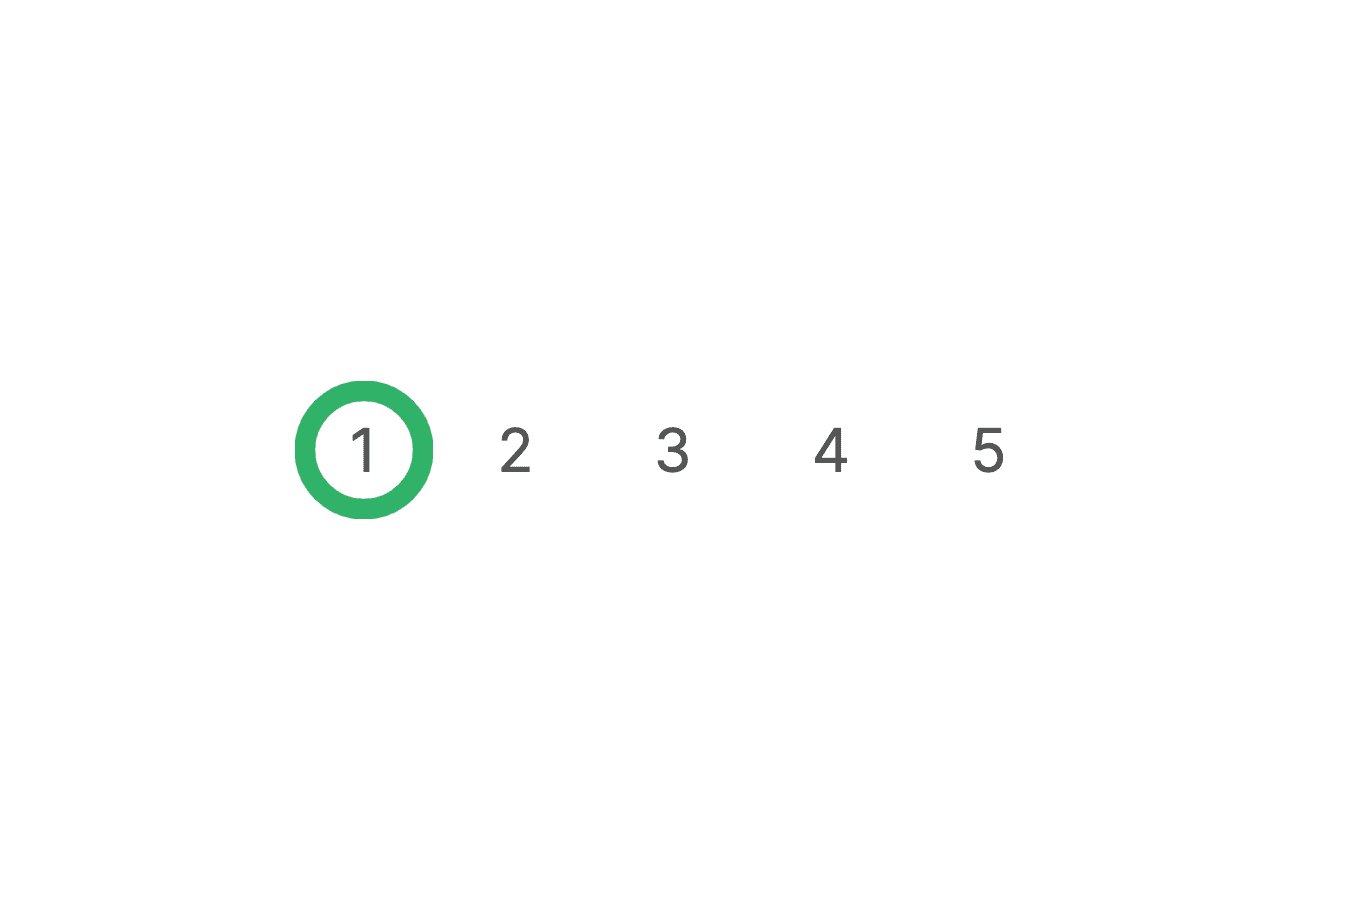
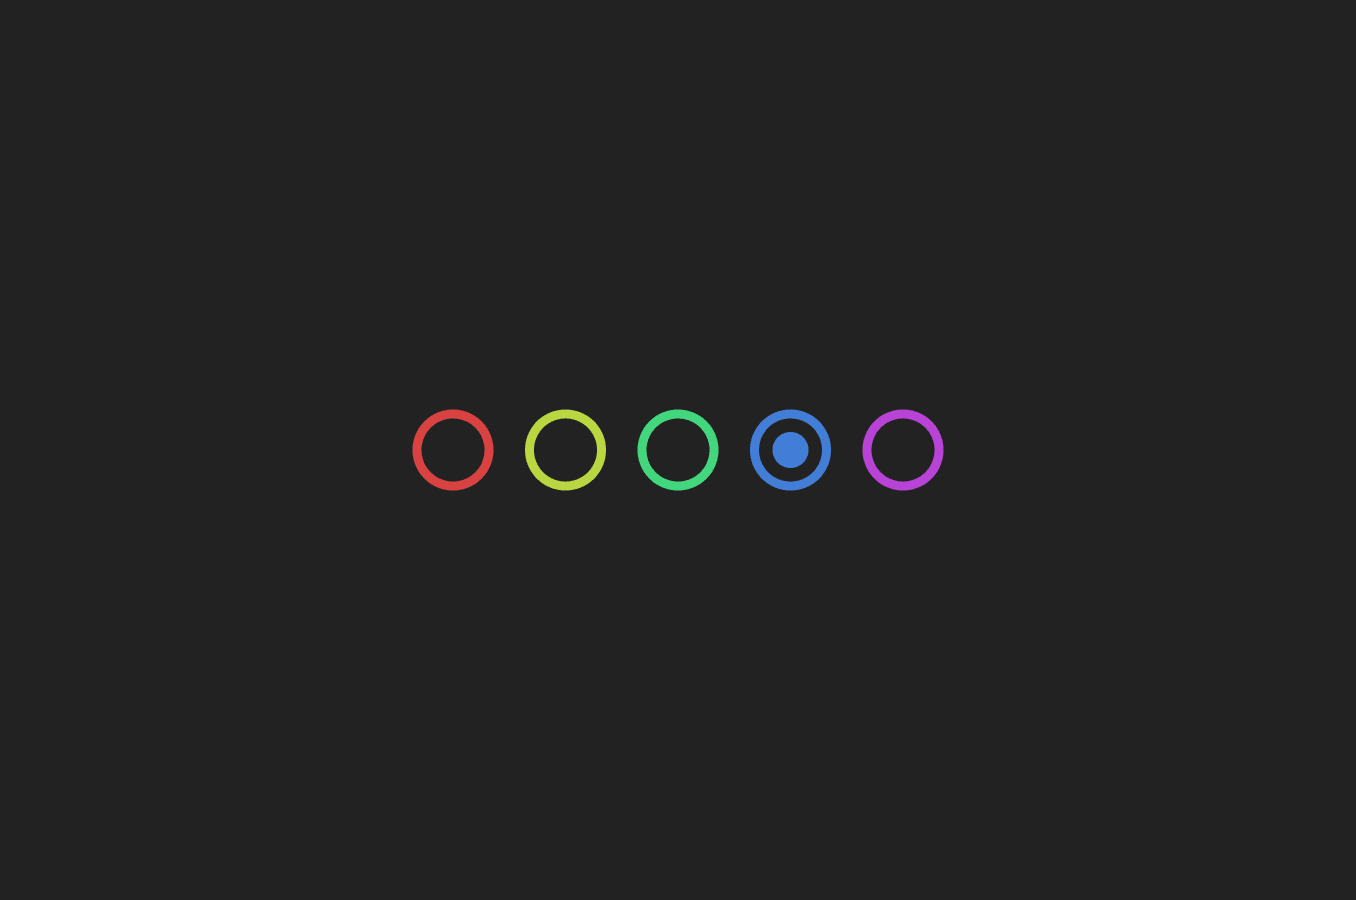
Dot animated page indicator
Made with:
Dependencies:
Pagination hover animation
Made with:
Dependencies:

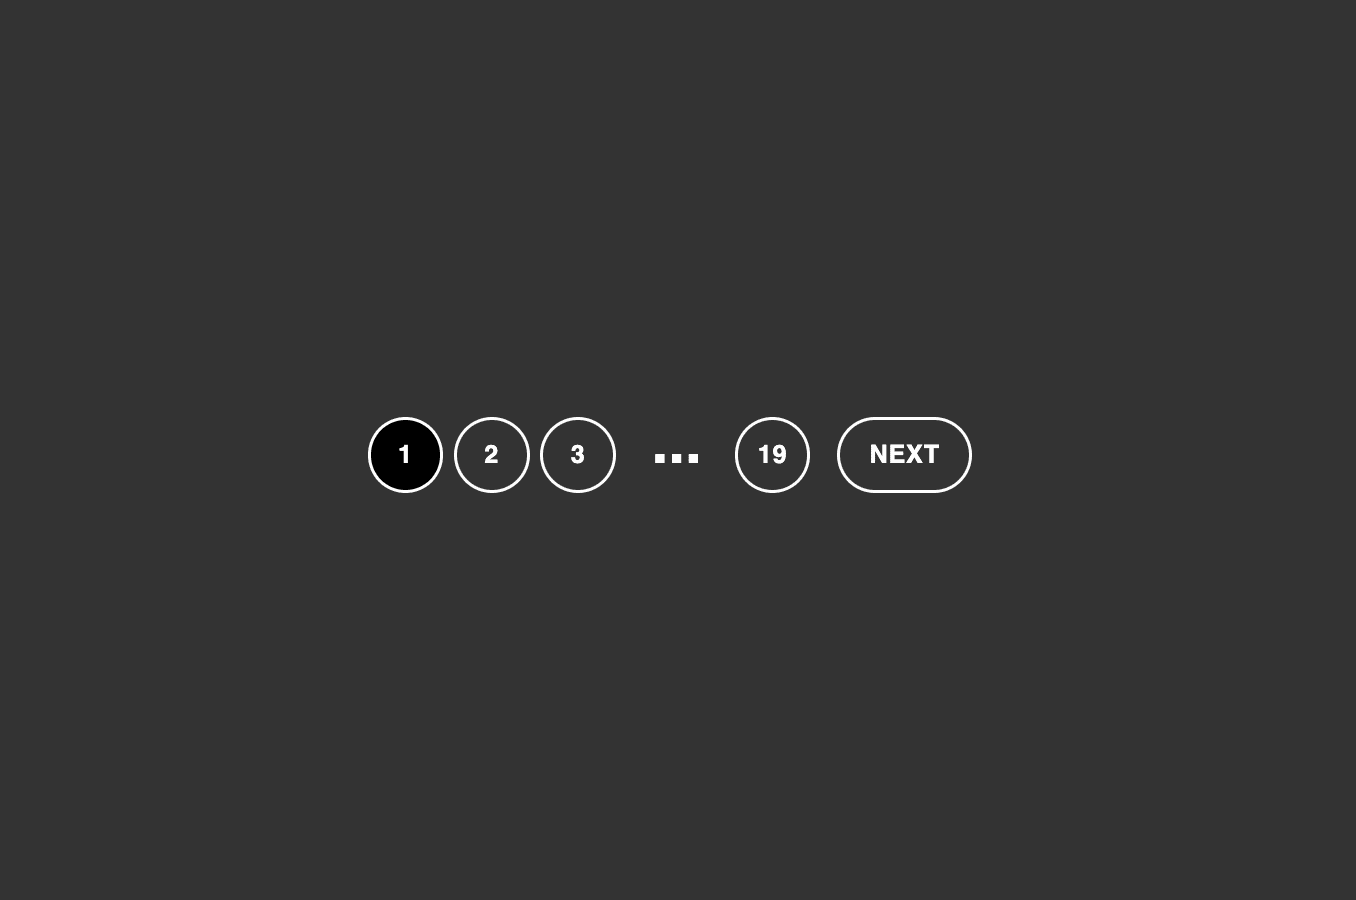
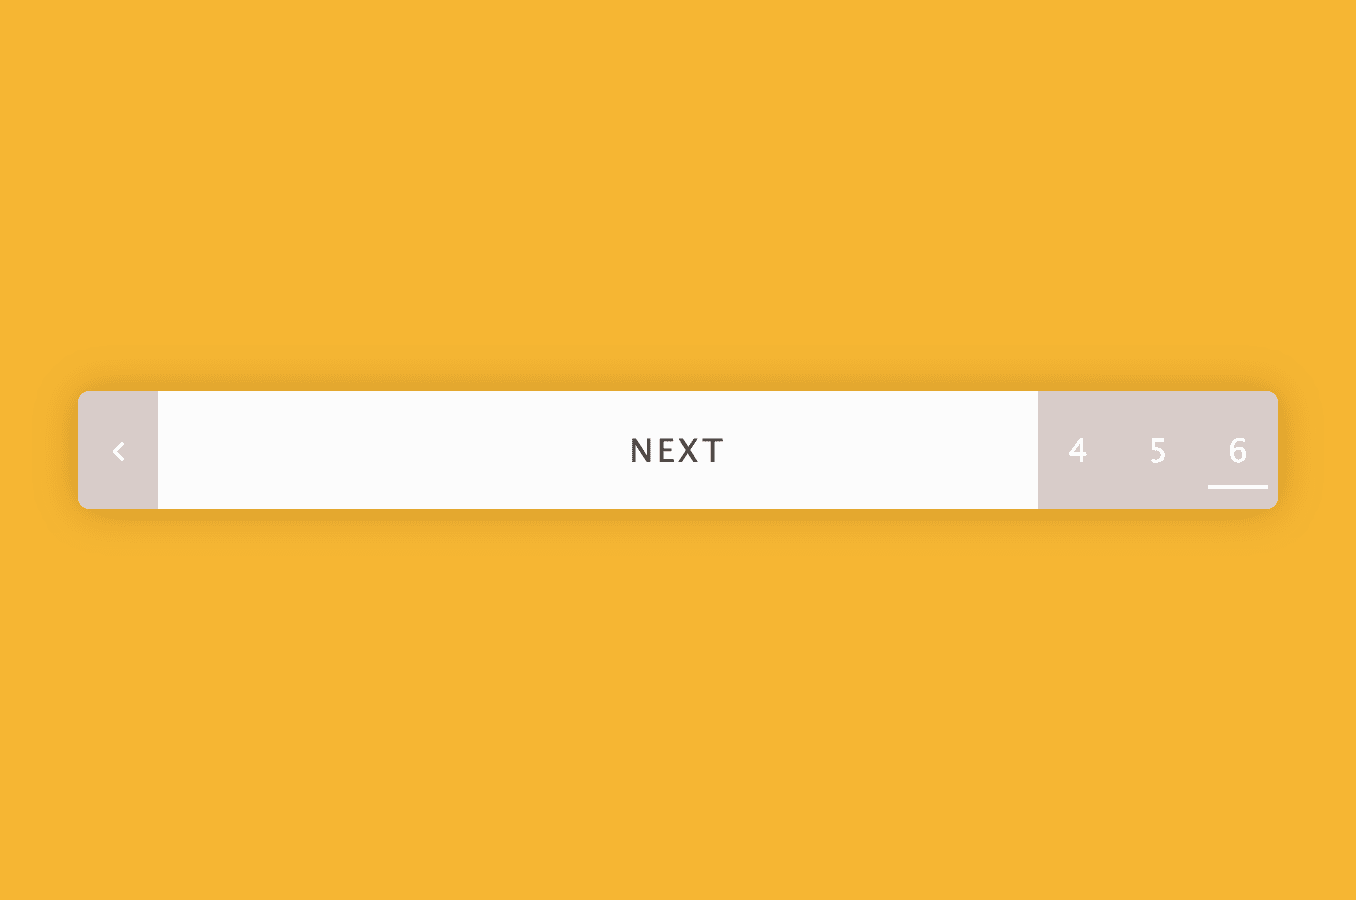
Dark theme pagination
Made with:
Dependencies:
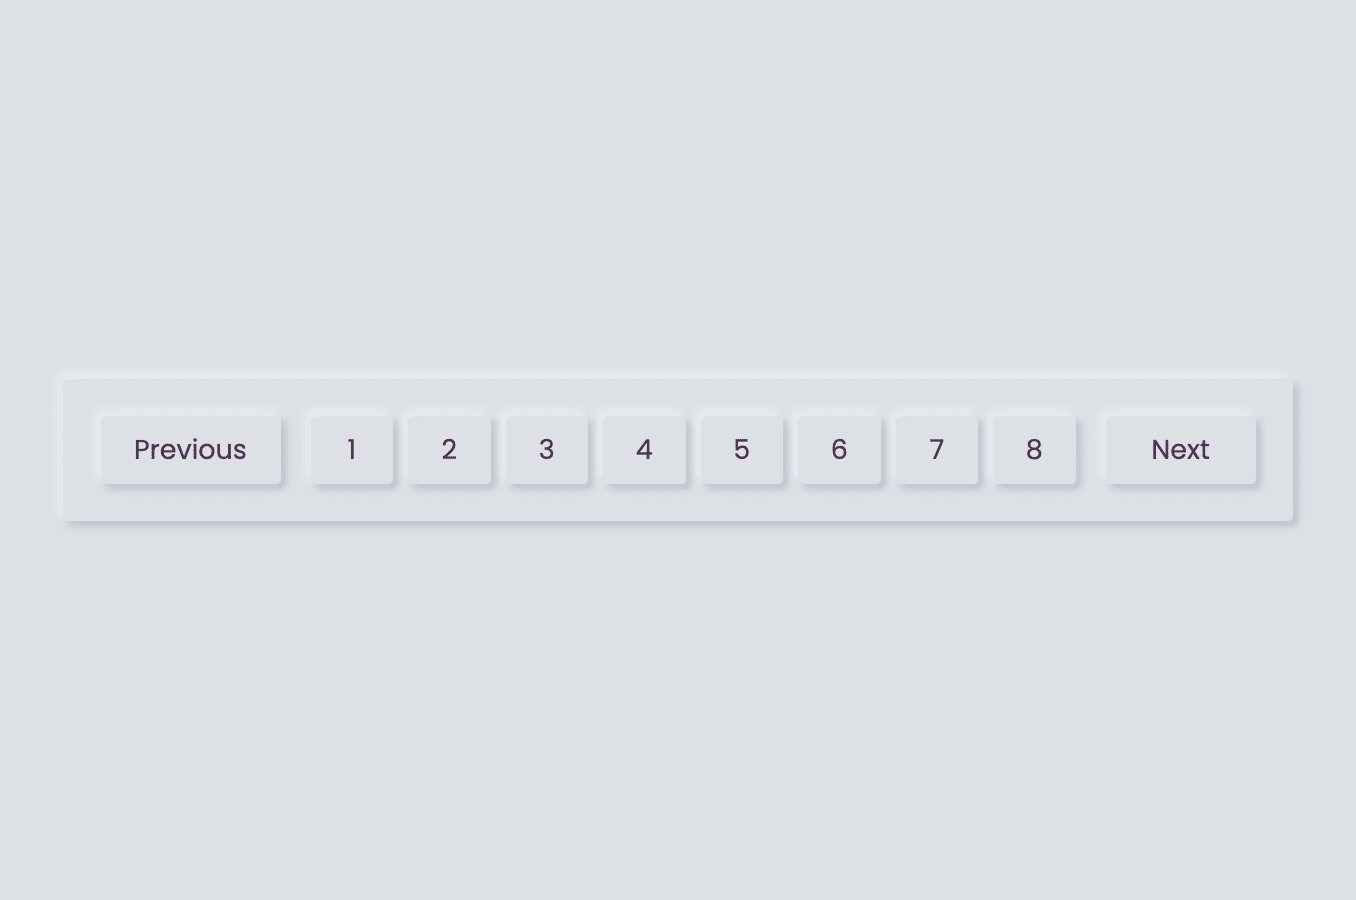
Neumorphism pagination design
Made with:
Dependencies:
Pagination with pure CSS
Made with:
Dependencies:
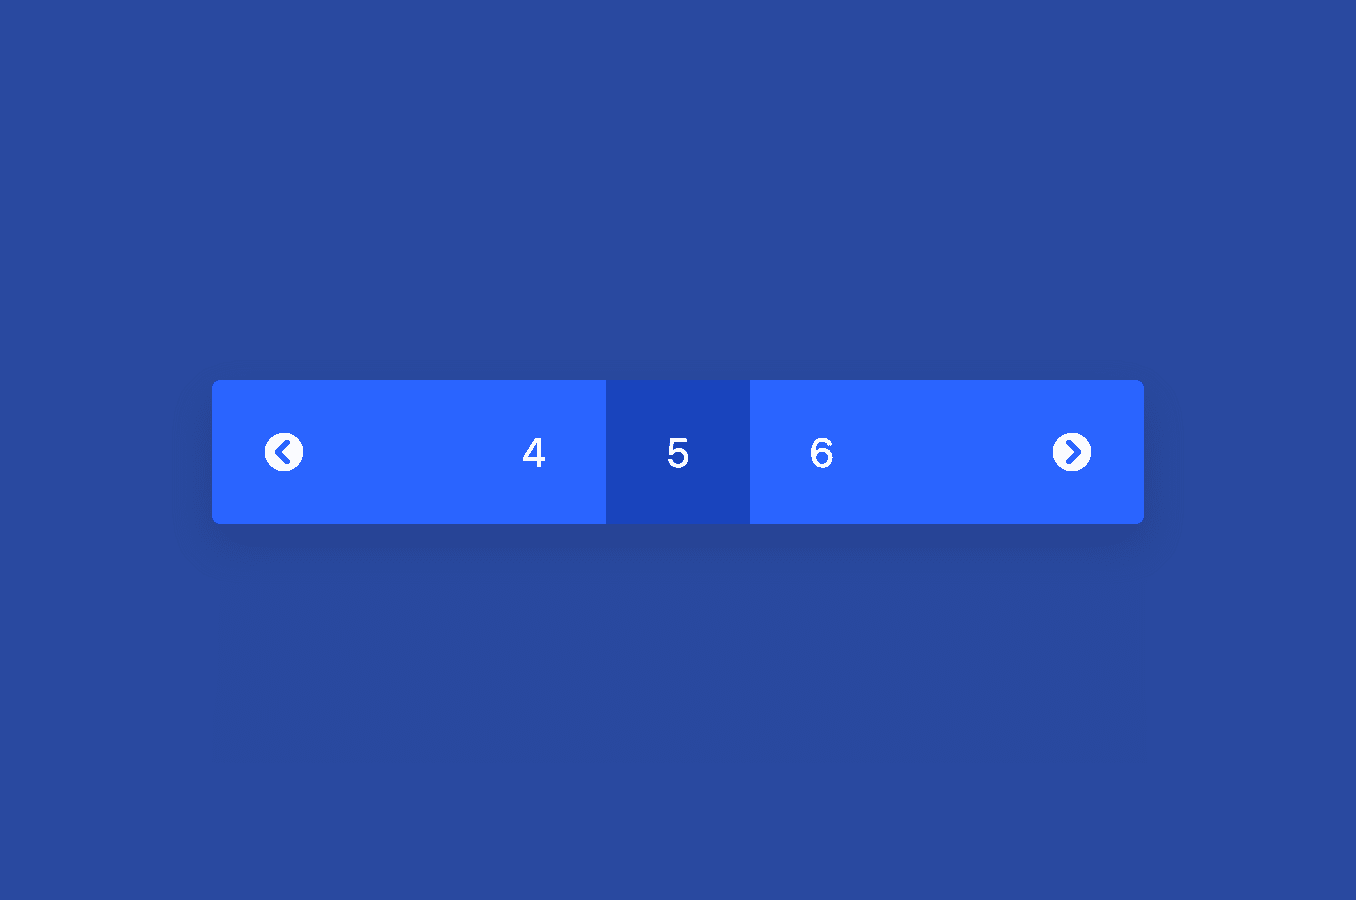
Bouncy pagination
Made with:
Dependencies:

Vertical CSS card pagination
Made with:
Dependencies:
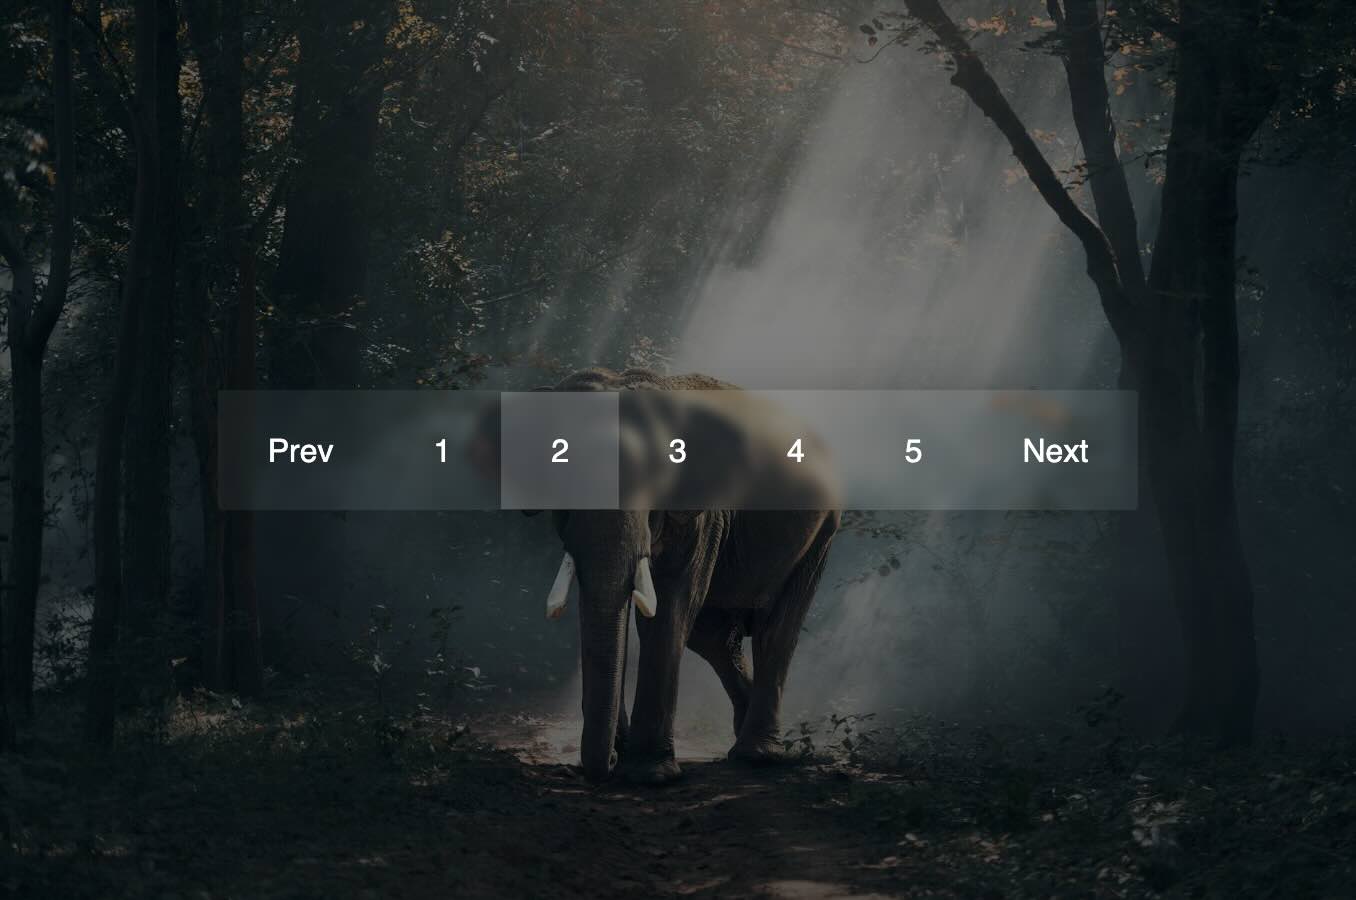
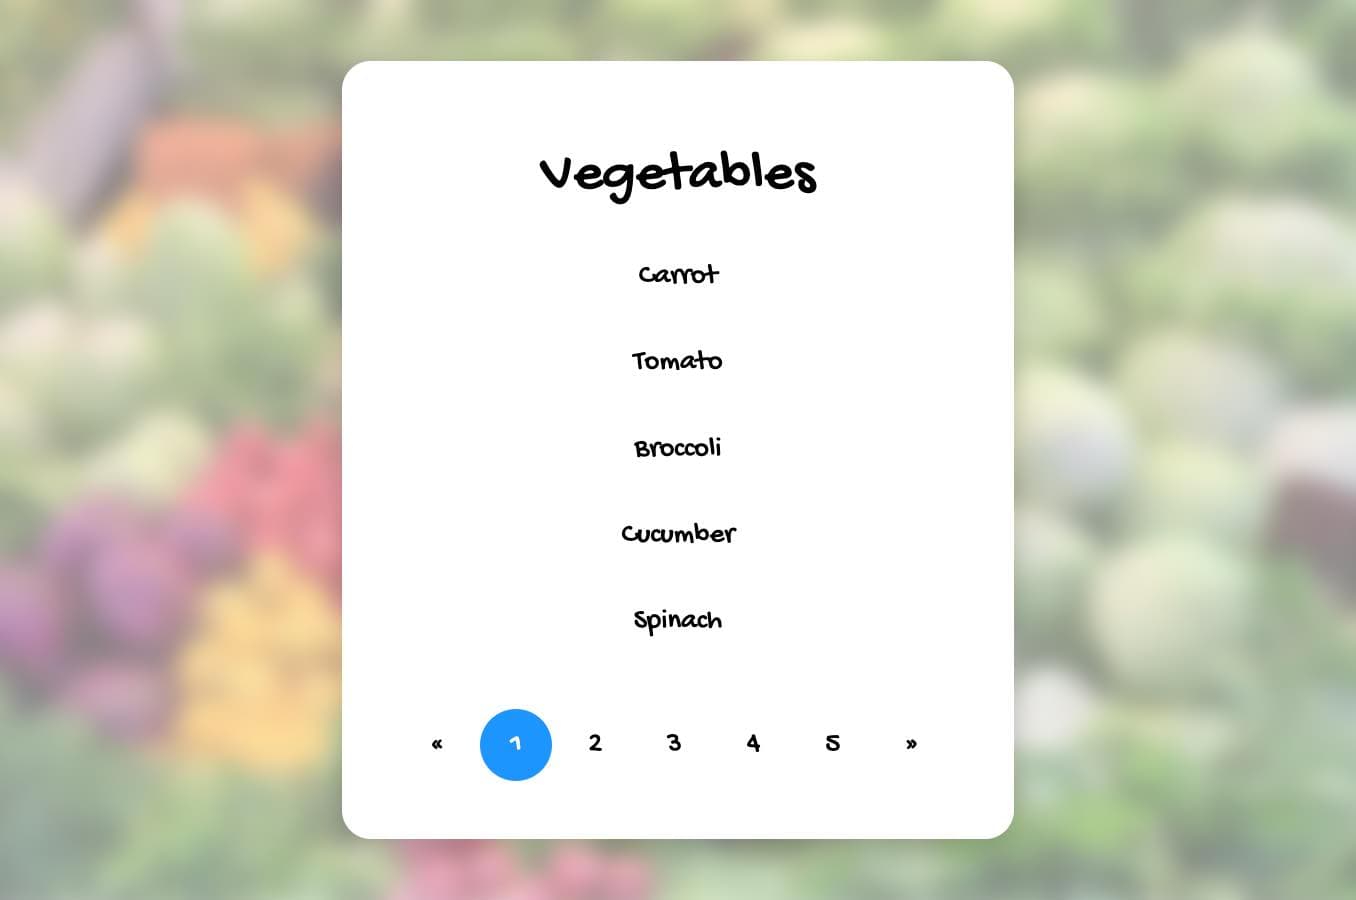
Simple pagination design using glassmorphism effect
Made with:
Dependencies:
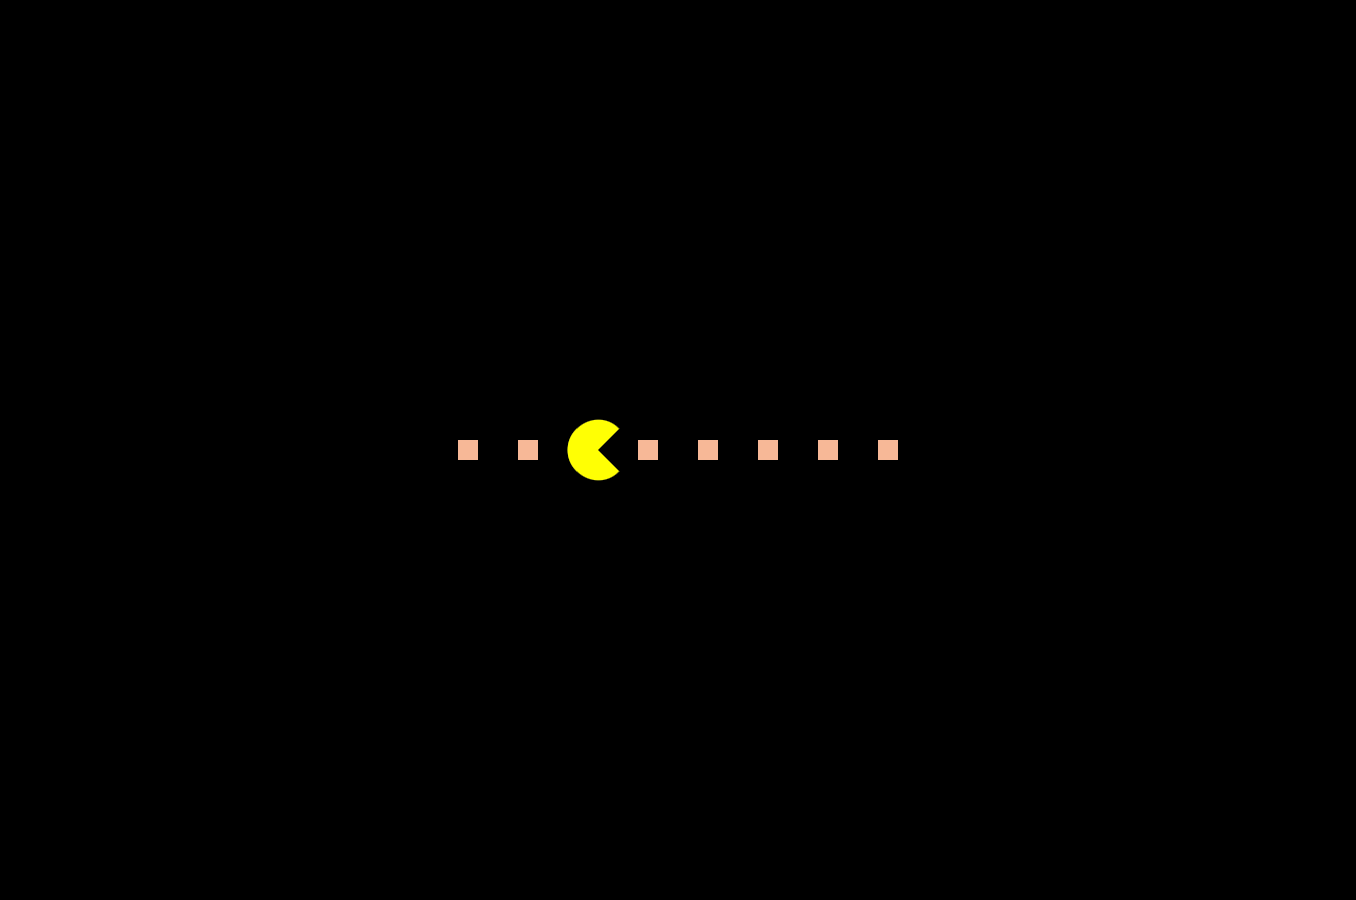
Pac-man CSS pagination
Made with:
Dependencies:
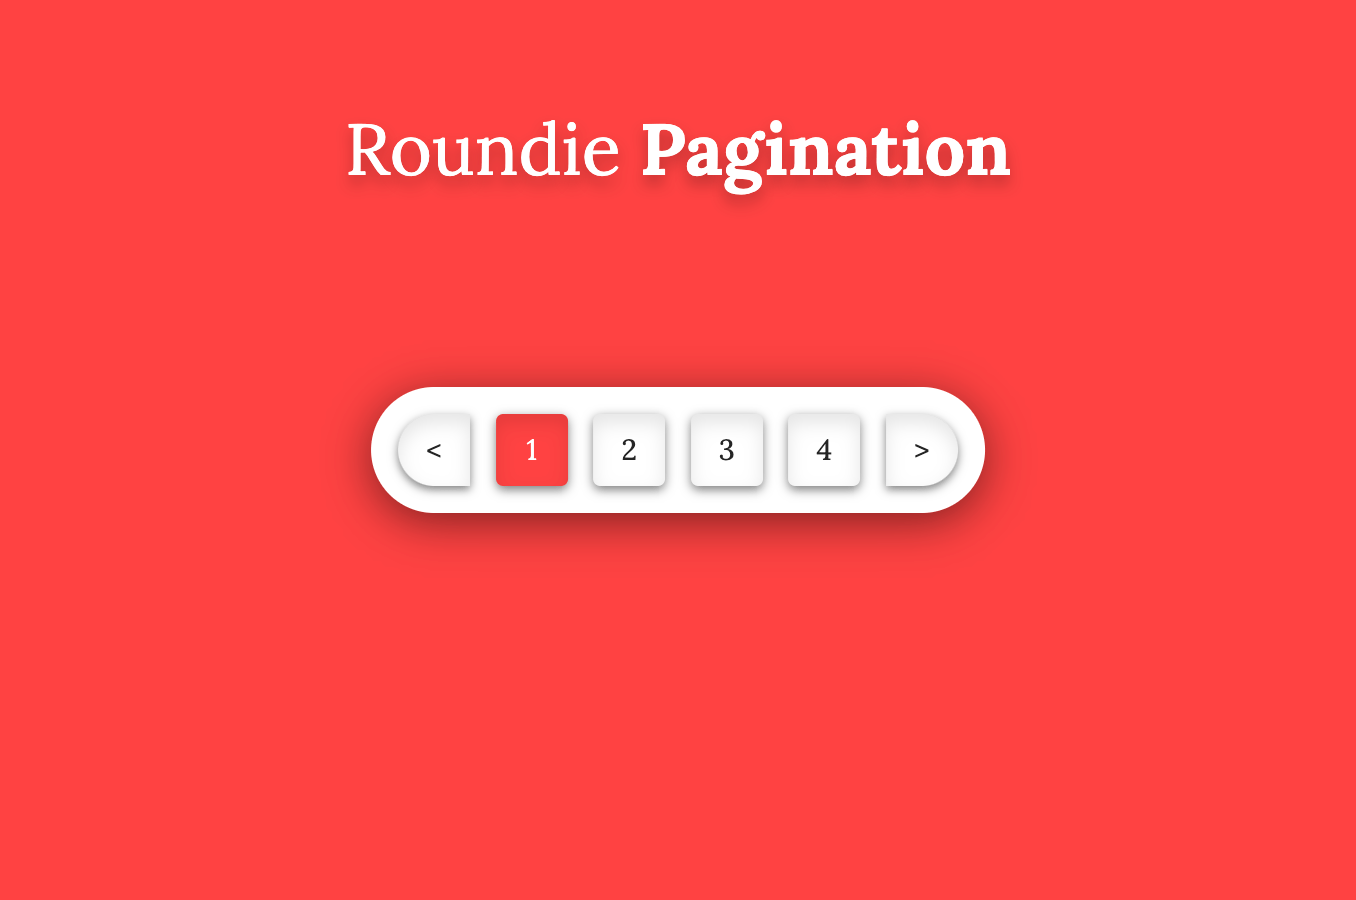
Roundie pagination
Made with:
Dependencies:
Looking for more CSS navigation components? Check our CSS breadcrumb examples with code and demos.